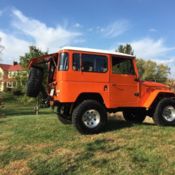
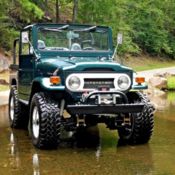
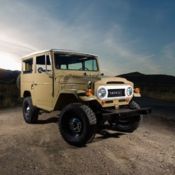
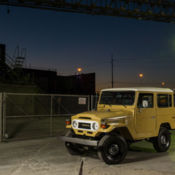
1968 Toyota Land Cruiser FJ40 FJ-40 Frame off Restoration must look safety first
| Make: | Toyota |
| Model: | Land Cruiser |
| Type: | SUV |
| Trim: | FJ40 |
| Year: | 1968 |
| Mileage: | 125,000 |
| Color: | Brown |
| Engine: | F , 6 CYLINDER |
| Cylinders: | 6 |
| Fuel: | Gasoline |
| Transmission: | Manual |
| Drive type: | 4WD |
| Interior color: | Tan |
| Vehicle Title: | Clear |
| Item location: | Shawnee, Kansas, United States |
| Extras |
|
4-Wheel Drive |
| Listed by | Private seller |
Description of 1968 Toyota Land Cruiser FJ40 |
|
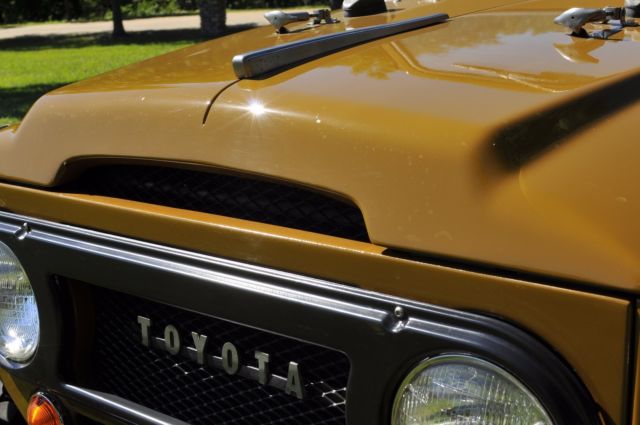
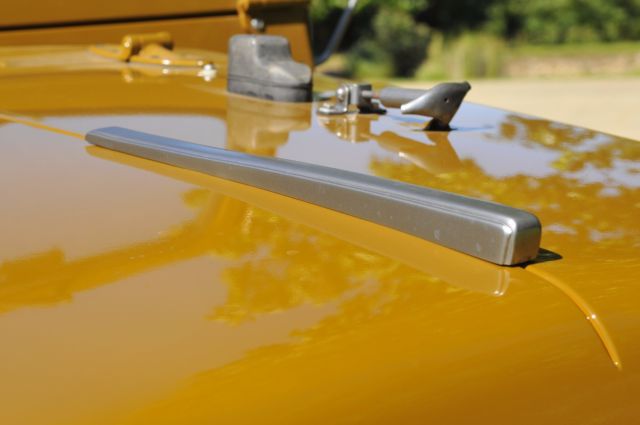
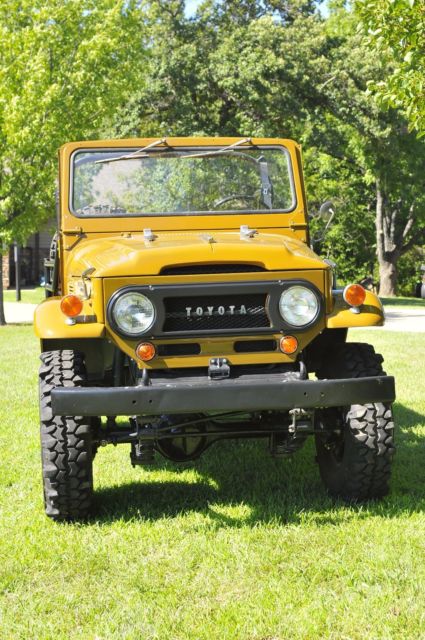
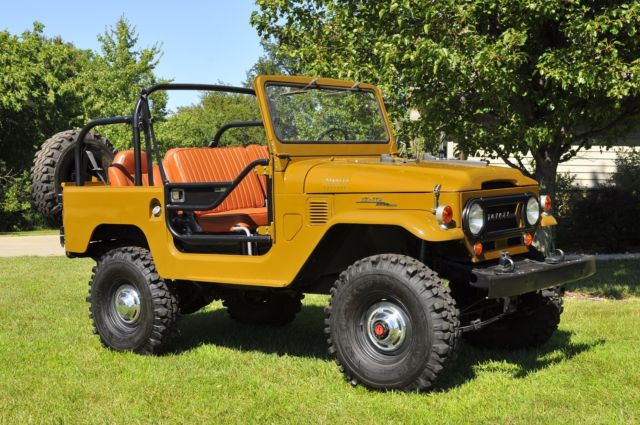
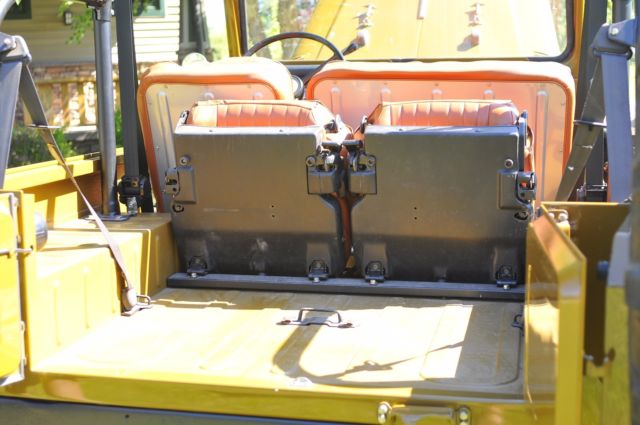
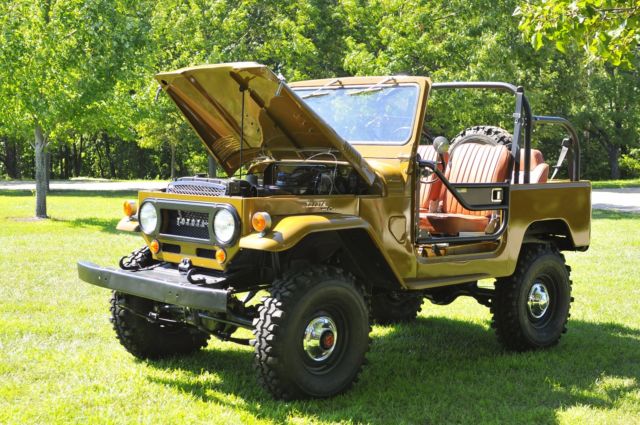
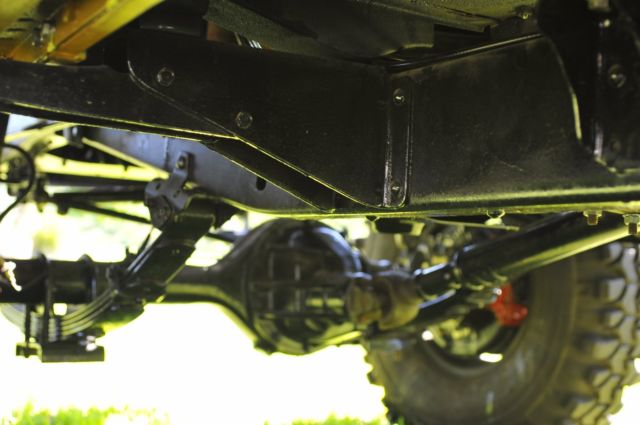
First things first. . . this will be a very long and detailed description. If you're a Land Cruiser nut like me, it will be a great read and make total sense. If you're not, then I'll cut to the chase. This is a remarkable 1968 Toyota FJ40 Landcruiser that lived most of its life in Arizona. Full restoration frame off and ridiculously built, ready for the road or your next off-road adventure. There have been some major mechanical changes to make this a family safe vehicle such as power disc brakes and forward facing rear seats with three point seat belts for everyone. If you are a Toyota purest, you are not going to like all that I did on this Rig. Sorry, but that is the truth. I had two kids that were under 10 years old, and I wanted them to be able to ride in this rig, and feel like I was not putting them in harm’s way. There are some technology changes since 1968 that I believed needed to be added for safety of those riding in it. You either get it or you don’t. More about the changes later. Most parts used for this restoration were OEM Toyota. It is amazing that you can purchase OEM parts directly from Toyota for this vehicle that was made a few years before I was born. I am a huge Toyota fan because of this. I feel that the OEM parts are superior to any parts you can purchase. My family is looking more at doing long road offroading adventures, so we have moved to build a mid 90's 80 series Land Cruiser, and we are just not enjoying this vehicle like we should, so it is time to go to another Toyota fan. After sitting patiently inside my shop for the other FJ40 that we were working on, it was Ol' Blue's turn. We then proceeded to make this rig the most beautiful FJ40 -- well in our opinion. Everyone's idea of a frame off is different. Here is my interpretation. Everything is taken apart and removed. The frame is totally separated from body, engine, tranny, drivetrain. The frame is fully sandblasted inside and out as much as possible. The frame is then POR-15 treatment starting with marine clean, prep and then painted with multiple coats of POR 15. The front and rear tail of the FJ40 are exposed to the sun, so they get covered with a coat of POR15 product top coat that is more UV stable. The drivetrain pieces are all taken apart sandblasted and painted with similar process. Brakes are fully rebuilt. All bolts are replaced with stainless hardware. The wiring harness was fully remade and is new, with new blade style fuses with new circuits for radio (that this car did not come stock with), accessory power outlets (hidden) and other additional circuits prewired and ready for lights, compressors, etc.
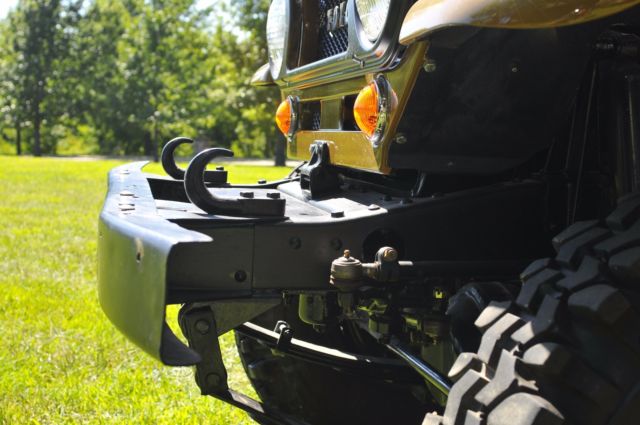
Changes from the original - FJ40 “purist beware”-- •The front axle stock, was what the call a course spline “ball and claw” style axle with Drum Brakes. The ball and claw was replaced with the current arrangement of using a birfield joint, (or "Birf" for short) byToyota in 1968. This vehicle was made in November of 1967, so it was the older style. The ball and claw are not as strong as the Birfs. I wanted the fine spline birfields and wanted the safer disc brakes, so i swapped the original axle for an axle out of a 1975 Landcruiser, and did a mini-truck birf swap, so all the components of the axle from the ball out are from an early 1980’s Toyota mini-truck. This gives you much stronger fine spline shafts, the stronger birfs, and the big disc brakes.
• Now if you know about the brakes of these old vehicles, you understand that they were built with a single circuit master cylinder for braking. This means that if you have any single failure in your entire braking circuit, you lose all braking ability, (with the exception of your ebrake). This was changed by law to a dual circuit system where the front and rear brakes areseparate systems and if one fails, the other will not fail. I added a dual circuit master. Additionally, with the front disc brakes, power brakes were needed, so a small booster was added with an adapter plate custom made to avoid changing the firewall. End of the day, you now have a much safer land cruiser that will stop quickly!
•Three point seatbelts were added for the front and rear passengers.
Here is a list of items done to the drivetrain:
• The engine had good compression and ran well, so we replaced all gaskets and seals, painted the oil pan, timing cover, valve cover, etc. • Transfer case got cleaned and all new gaskets and seals. • Carb was sent off and professionally cleaned and rebuilt. These carbs are known to be hard to deal with and they can bleed off after running, so you have to wait a few minutes to start. Lots of people switch out to Weber carb; however, it runs great as it is. • Tires are 34 Interco inch TSL tires that have under 500 miles on them. Tall and skinny makes this rig look awesome. No rubbing or issues with these big ol' tires! Painting:
• The interior floor was painted with a bedliner type material called Raptor that has an option to color tint to your vehicle. It really is beautiful, and is the same color throughout, so if you have a scratch in the material, you hardly notice. It is a very fine texture, and cleans really well. I just use a garden hose and a light brush. • Back when I was working on classic Corvette cars, we had an awesome primer made by BASF. A two part epoxy that sealed the parts, sanded well, and bonded excellently with the final paintwork. Unfortunately, they decided to change the formula to save the world, and it was never the same. A few years back, I found a primer made by Southern Polyurethane that is very similar to the old BASF product. After the parts were sandblasted, they received coats of this epoxy primer. This includes all the major steel body parts (some smaller parts were powdercoated). This does not include the frame, or bumper as that was POR15 treated.
•The underside of the tub and front fenders were first primed with the 2 part epoxy, then coated in black Raptor bedliner paint, similar to the interior floor of the tub. This too is a two part product that is well known to be a superior durable product.
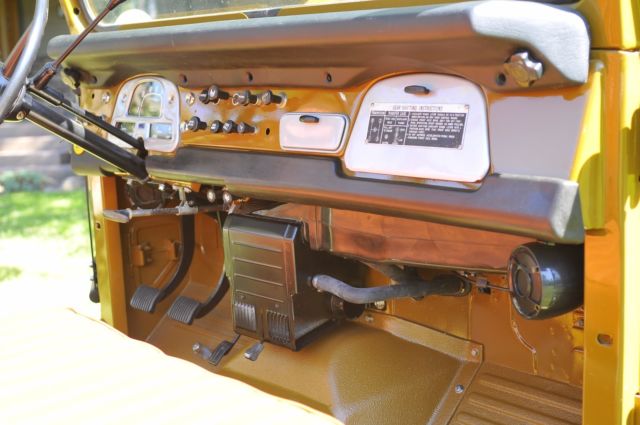
Interior: • The seats were fully disassembled, sandblasted, then powdercoated with a match to the original painted color. The seats were recovered with material that is an exact color match to the original "salmon" seat color; however, is a superior product. Rear seat covers were custom made with this material for the fold and go seats. • The heater was fully disassembled and I purchased a "rebuild kit" was purchased and installed with all new gaskets. The metal parts were all blasted with nutshells, and then powdercoated the original color.
•Original front bumper with POR15 primer and top coated UV painted. • New oil in all transmission, transfer case, and front and rear differential. • All new Brake Fluid after installing new master cylinder, and most brake lines were replaced with new lines because we changed this from a single circuit to dual circuit fan. • The factory four wheel drive is changed by a vacuum operated switch. The OEM parts were cleaned and refurbished and the housing was powercoated. Works great. The high/low shifter also works perfectly.
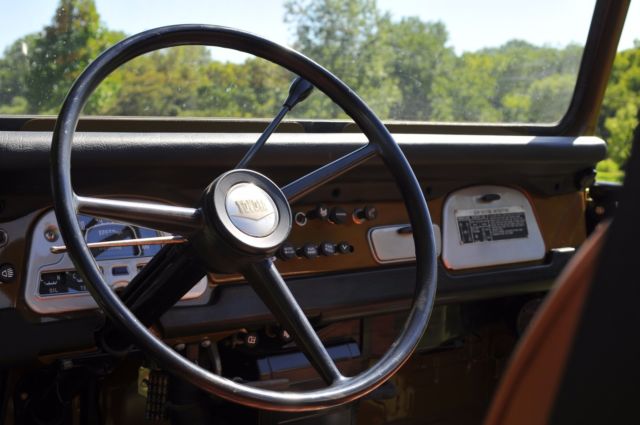
• New Fan Belt from Toyota • New water pump • New windshield washer pump and reservoir • New blades for windshield wiper arms. •These are not the original 1968 rims as those had rivets that would not clear the new disc brake calipers, so these are later, mid 70's rims that look identical to the 1968 rims on the outside. Hubcaps are original to the car. They do show some wear and use on them, but add so much to the look. The wheel rims are Toyota OEM, and the spare rim was just purchased from Toyota. • New Air Filter • New Coil • Blower Motor cleaned and refurbished with new seals. •Dash is OEM that has been covered with a dash cover sold by CCOT. The purpose is that these dash covers will long outlast the OEM product. • Hidden Stereo added with motorcycle waterproof speakers that are hidden tight under the dash in the front and in the back rear corners. The stereo is under the front seats in the center of the vehicle. OEM there was no stereo for a 1968 land cruiser. Not sure how anyone can drive without some tunes, so change was needed, but I did not want to disturb the dash. • With the new wiring harness, I installed a viper alarm system. Truth is that it is a 3 on the tree, not a lot of folks that understand how to drive this, so I have not been worried about theft. I have never actually used the alarm since I originally installed it. I will test to make sure it works before shipping this rig. • I added a power outlet in the glove box so you have ability to charge your cell phone without breaking up the original dash look. • The odometer/speedometer cluster was completely restored; however, with the new larger tires, it does not display the correct MPH. If you think this is some speed demon, you need to look elsewhere for your FJ40. Don't worry about shipping, we can get it to anywhere in the nation. Please don't hesitate to give me a call if you have further questions. 913-4 eighty eight 77 fourty six. I don't answer emails or texts due to spam so pick up the phone and give me a ring. |
 Home
Home Contact us
 NEWEST CARS
 SELL YOUR CAR
 FAQ
FAQ

